
Seam Allowance
Seam Allowance in the label depends on the way you plan to sew the label on to your project. Shown below are some of the most popular sewing methods along with the seam allowance needed.
3mm Seam Allowance:
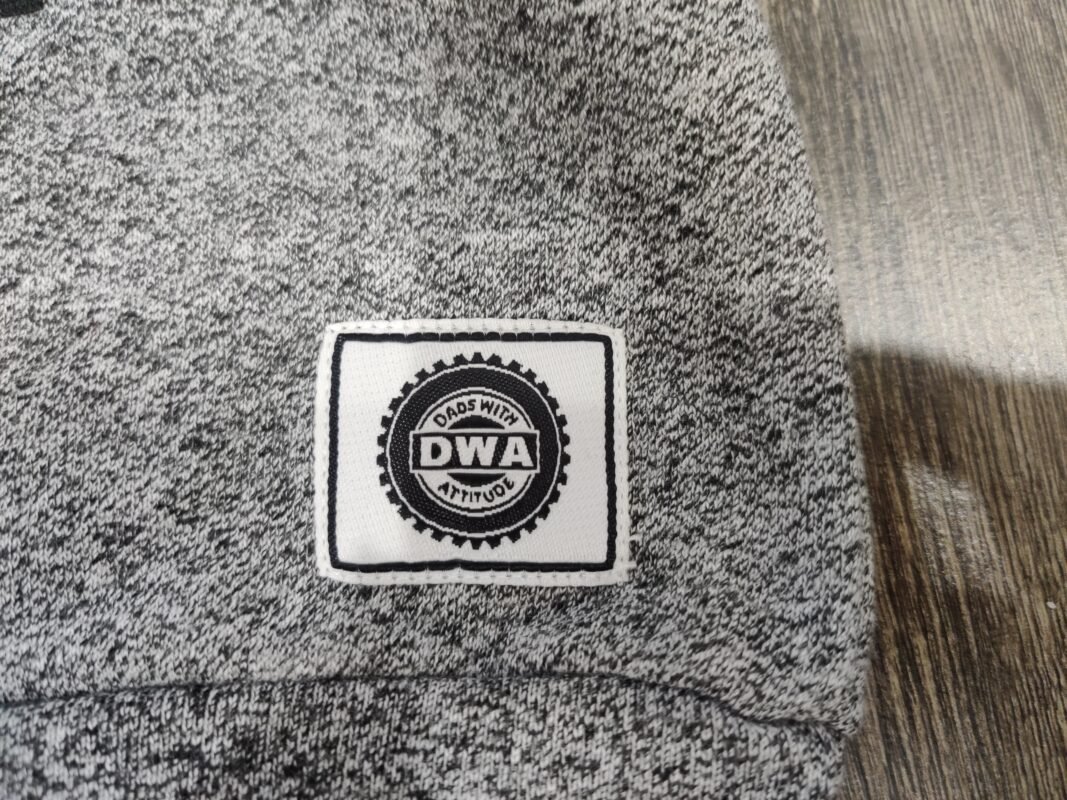
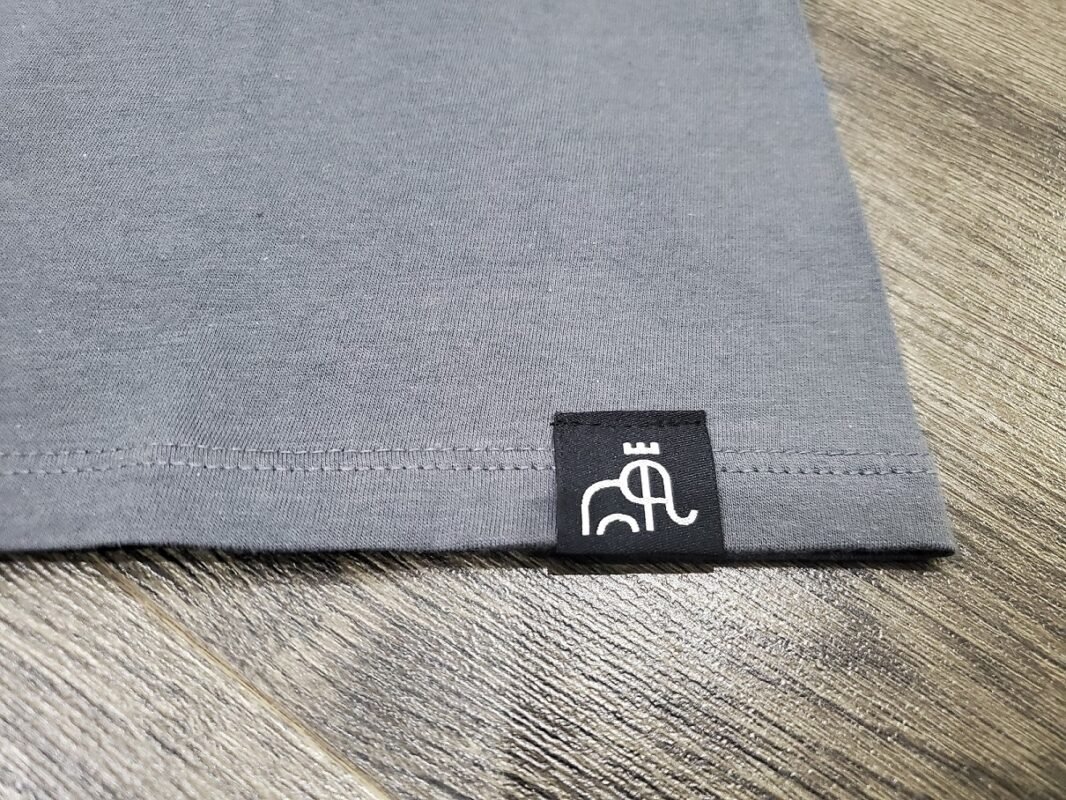
Most top sewing labels require a 3mm seam allowance. Option A shows a straight heat cut label sewn to the bottom of a sweatshirt. The space outside the black border is 3mm where the stitch goes. This keeps the label flat without the edges curling up. Option B shows a Manhattan folded hem tag with 3mm space after the fold. This space is just enough to sew the label without running over the logo. Once sewn, you would not notice a lot of negative space.
7mm Seam Allowance:
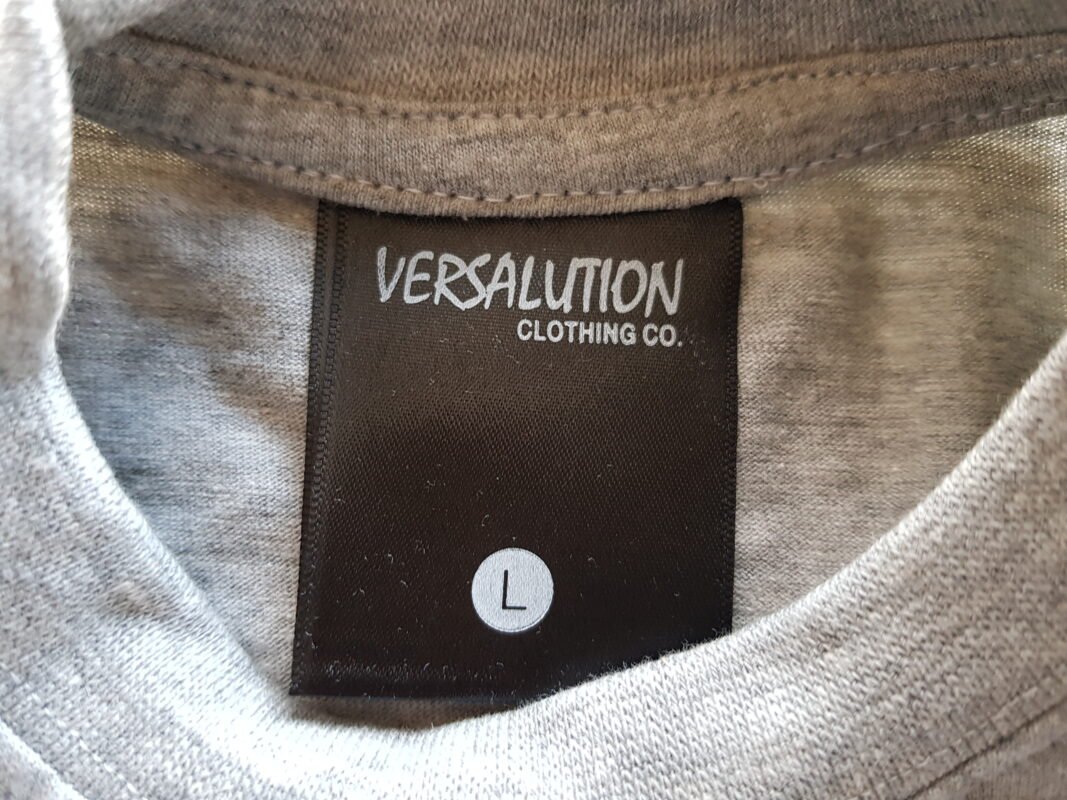
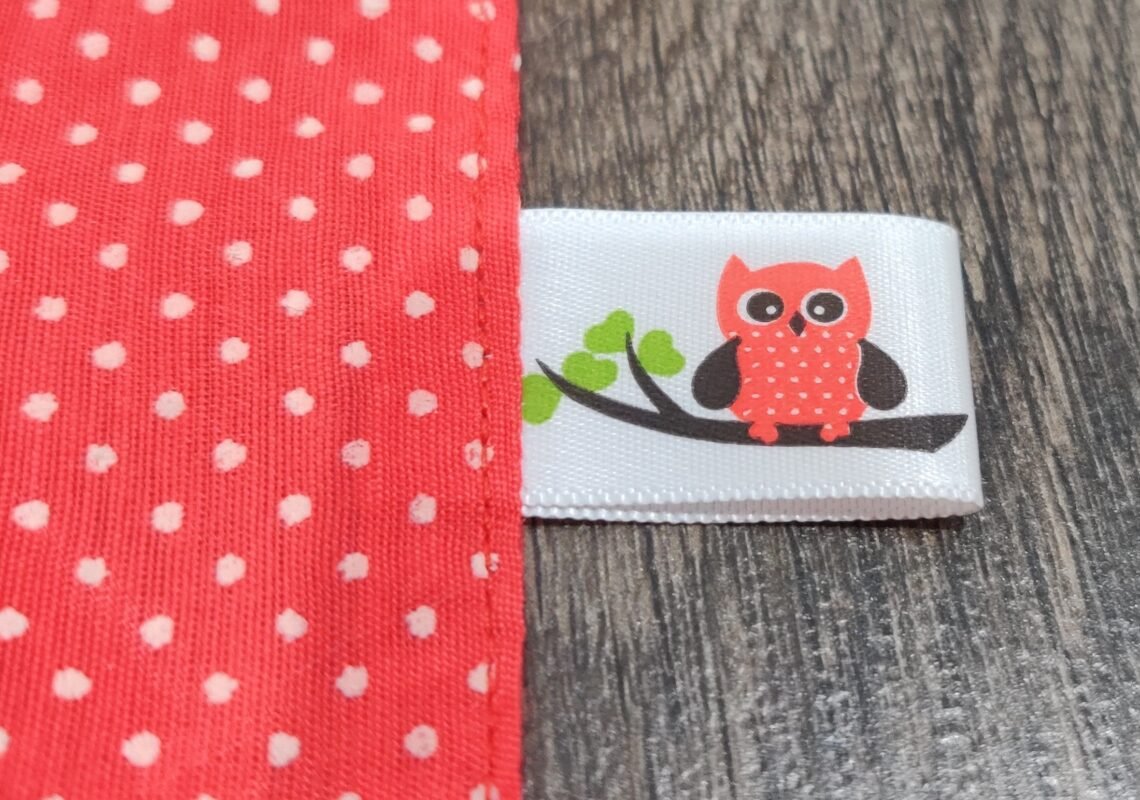
7mm Seam allowance is required where the label is inserted into a seam as you sew. A general rule of thumb most seamstresses follow is a 1/4″ seam allowance. Hence this space on the label will ensure a perfectly sewn label without any part of the logo getting tucked in.
10mm Seam Allowance:
Certain special projects call for a 10mm seam allowance. Like for this Mitre fold label, would certainly need anywhere from 10 – 15m seam allowance. That way once sewn, the label will hang down from the neck at the right length. Sewing too close will give it a very tight & rigid feel, while on the other hand, sewing it very low will give an unpleasant dangling look.
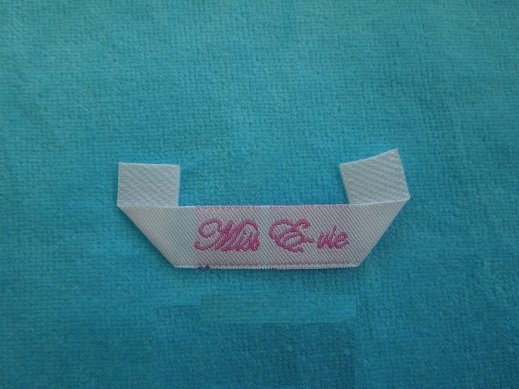
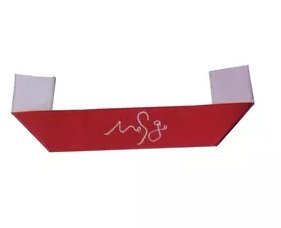
Comparison - 3mm vs 7mm Seam Allowance:
Neck labels can be made with 3mm or 7mm seam allowance. If you unpick the neck seam to insert the label in and then sew it close, you will need a 7mm seam allowance. On the other hand, you can top sew the label which will only need a 3mm seam allowance. Illustration shown has a center fold label with 3mm seam allowance with heat sealed edges top sewn. The raw heat sealed portion will be visible from the top and can easily irritate the neck. Alternatively you can make a Manhattan folded label with 3mm seam allowance that you can top sew to give a neat finished look. Folded edges will not bother the skin.
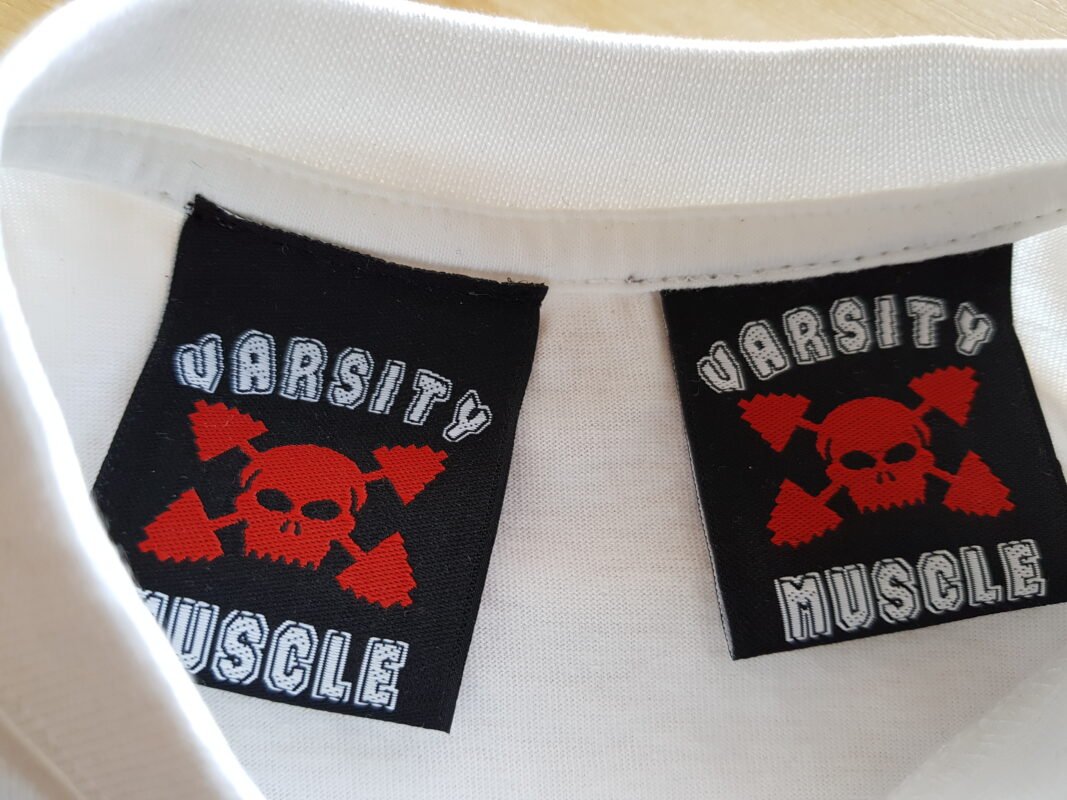
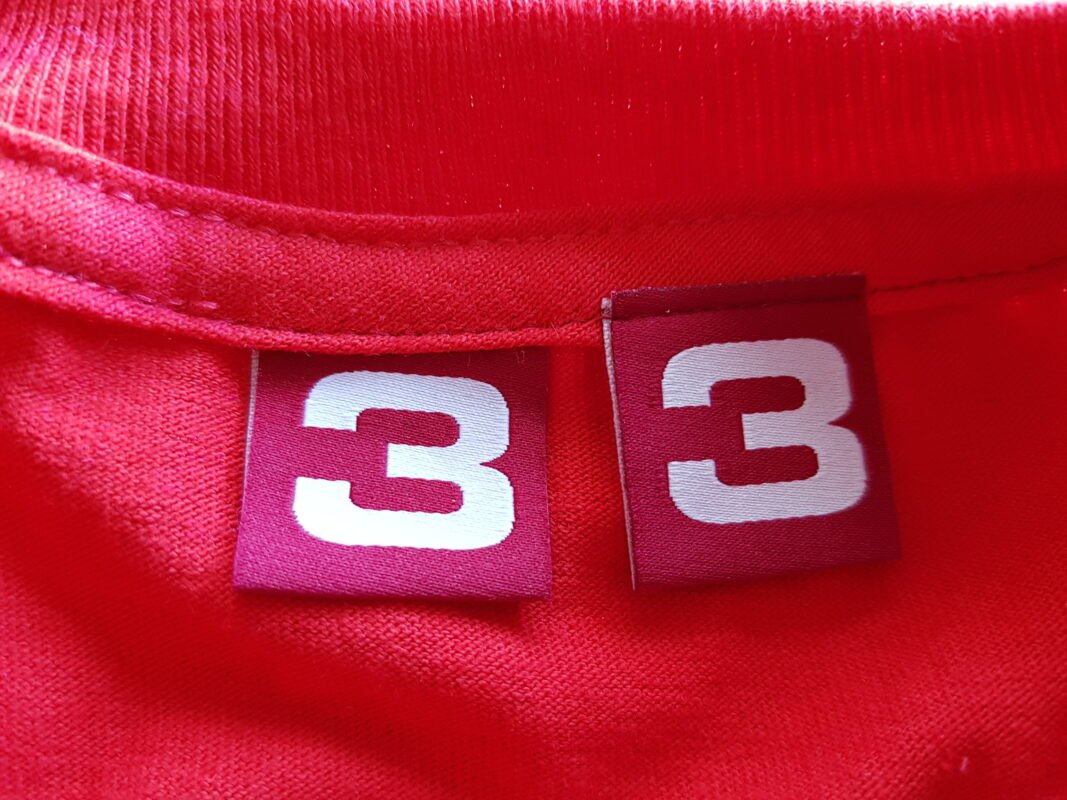
Merrow Seam Allowance:
A merrow/satin stitch finished label can be sewn in two ways. Option A shows the stitch placed right on the merrow. While Option B shows the stitch made a tad inside the satin stitch. This is purely a matter of personal choice. Sewing on the merrow or satin stitch does not need any extra seam allowance made. But if you plan to sew inside the merrow border, we need to have a minimum of 3mm space to sew.
Sewing on the merrow or satin stitch border will give the label a flush flat feel. If the stitch is placed just inside the border, the patch might curl up from the edges and you can notice a slightly raised effect. This is something to keep in mind before you start choosing your preferred mode.
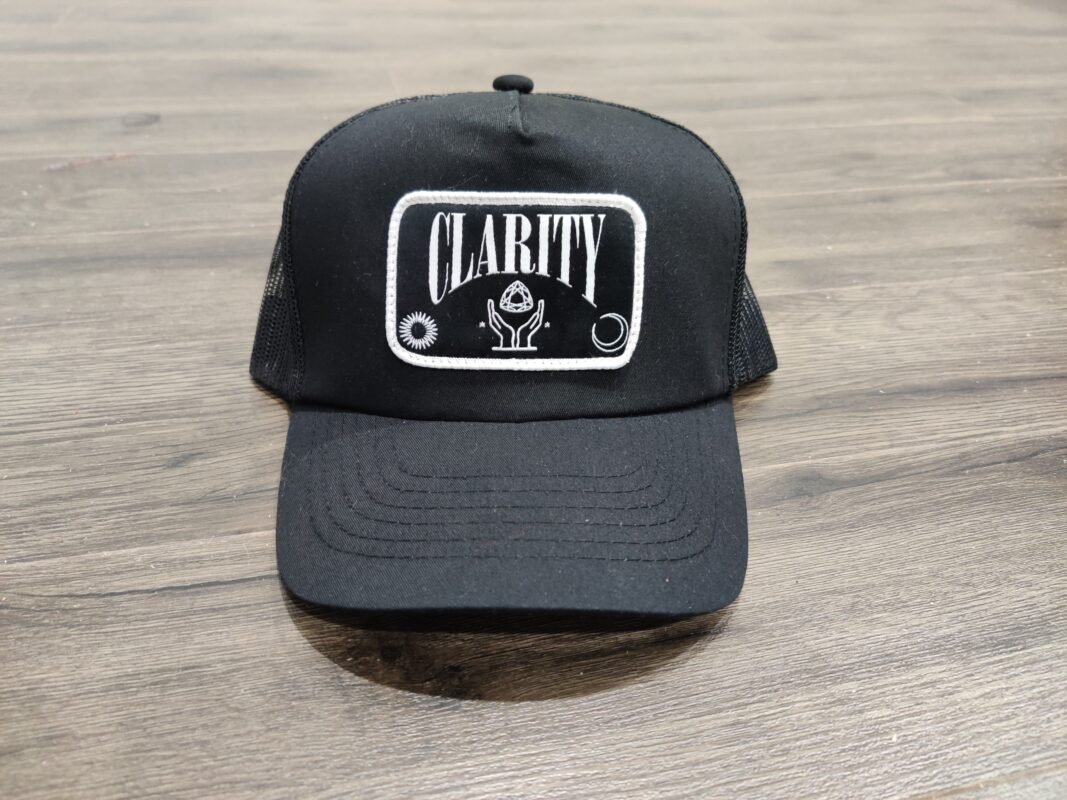
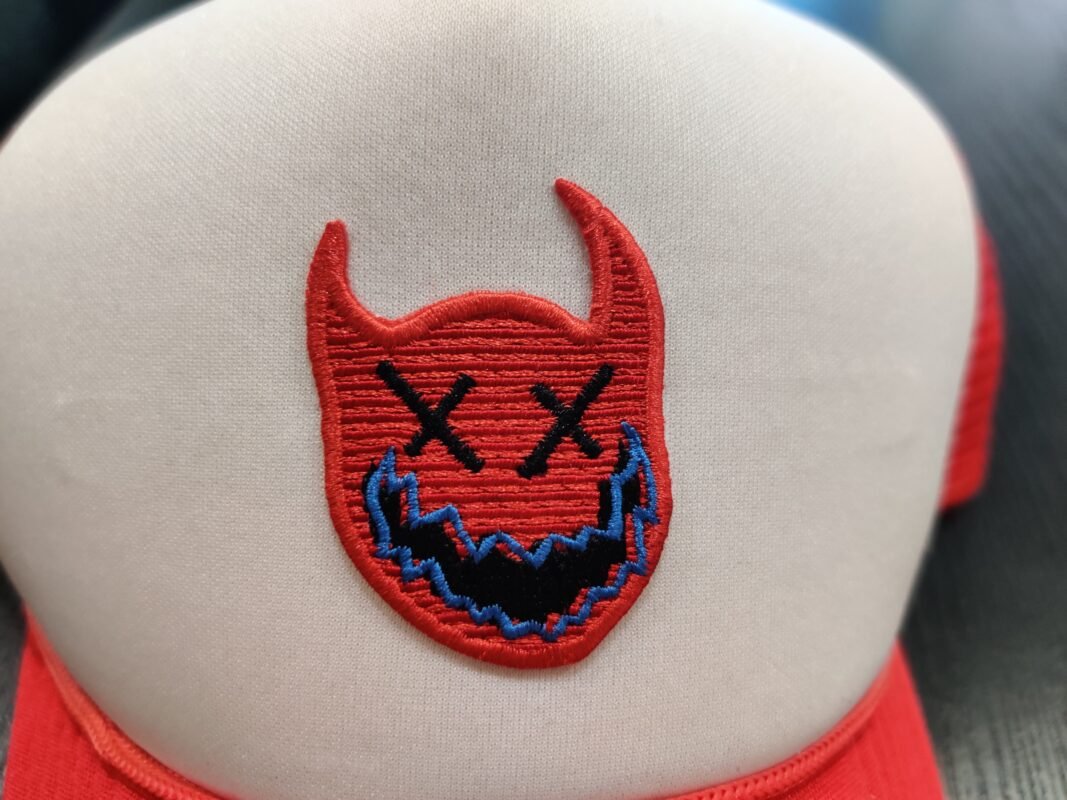
Sewing Ditch:
To aid in sewing and to keep the stitch and patch straight a sewing ditch is usually allowed around the perimeter of the label. This is a very small 1-2mm space with an indentation where the stitch goes. This will make sure your stitch is not crooked, resulting in a perfectly straight patch.